
Overview
This guide provides step-by-step instructions for exporting aimswebPlus scores from the aimswebPlus platform. Follow these instructions to ensure you retrieve and securely send the correct data to ECRA Group.
Instruction Guide
Step 1 – Logging In
– Log in to the aimswebPlus website at app.aimswebplus.com.
Step 2 – Accessing the Export File Page
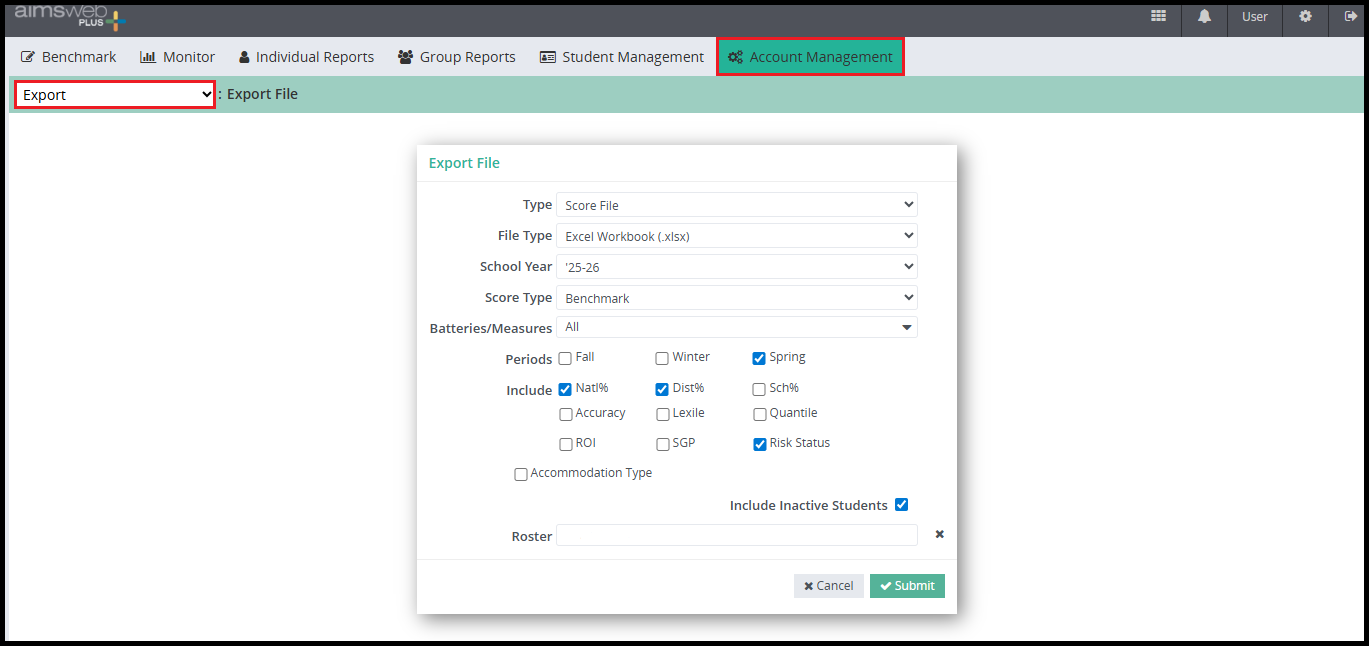
– Click Account Management from the menu bar at the top of the page.
– Select Export from the drop-down menu in the top left corner of the page.
Step 3 – Configuring the Export Settings
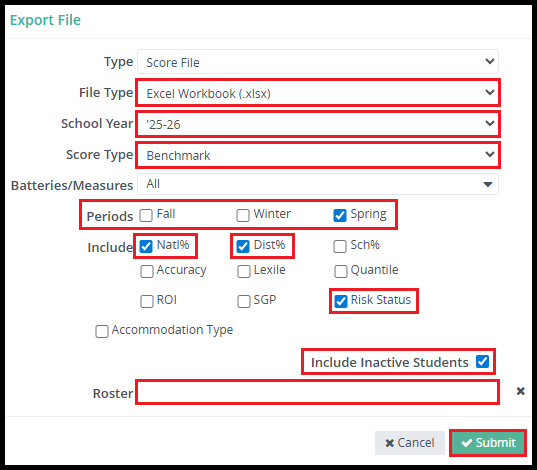
– File Type: Select Excel Workbook (.xlsx) from the dropdown.
– School Year: Select the desired school year from the dropdown.
– Score Type: Select Benchmark from the dropdown.
– Periods: Select the desired term(s).
– Check Natl%, Dist%, and Risk Status options.
– Include Inactive Students
– Roster: Type in your district or roster to define the group of students whose data you wish to export.
– Click Submit.
Step 4 – Downloading the Exported File
– Click the notifications (bell) icon in the top right corner of the screen.
– Click View All Notifications.
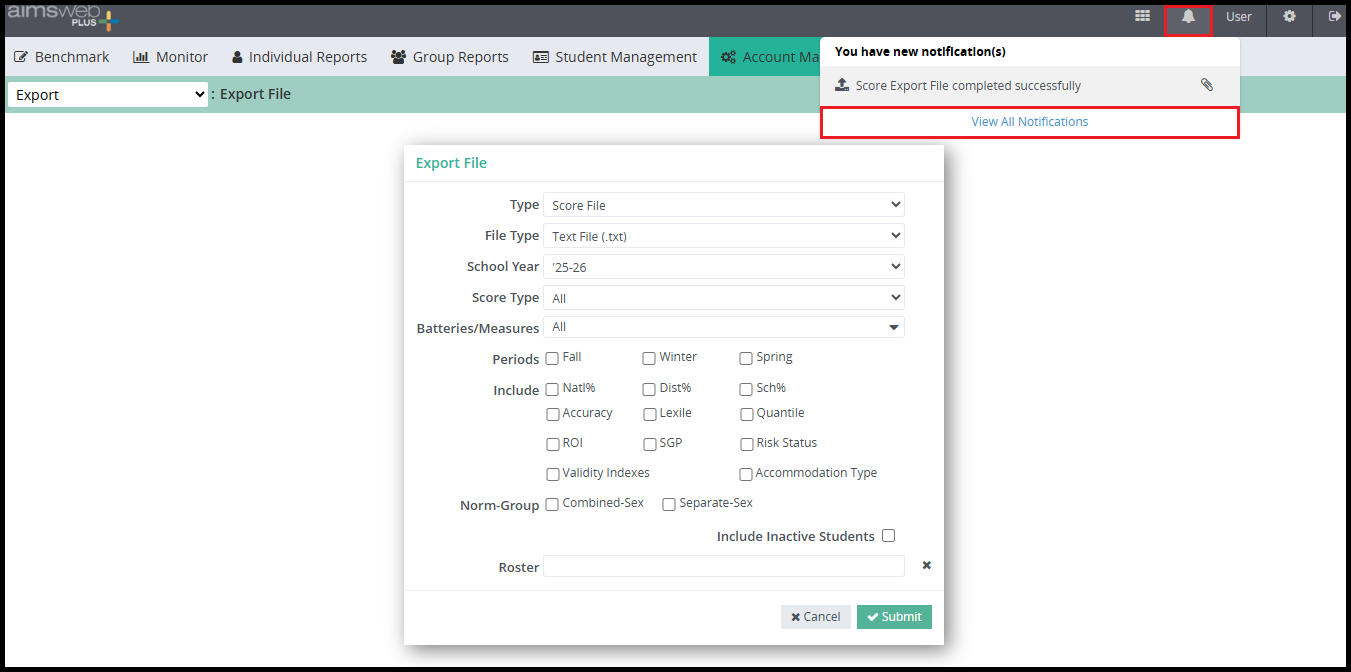
– Your requested file will be at the top of the list of notifications.
– When the file is ready, click the paperclip icon on the right side of the file row.

Step 5 – Sending Data to ECRA Group
– Rename the downloaded file to include the following information before sending to ECRA:
– “aimsweb”
– District name
– School year and term selected for download
– Send the downloaded data file to ECRA Group using your district’s secure data transfer folder.
