
Overview
This guide provides step-by-step instructions how to:
– Access the Manage Users page within the ECRISS platform
– Update users’ email address, role, building access, and/or grade access
How to Access the Manage Users Page
Step 1 – Logging In
– Log in to the ECRISS platform at app.portal.ecragroup.com either by logging in with Google or with a username and password.
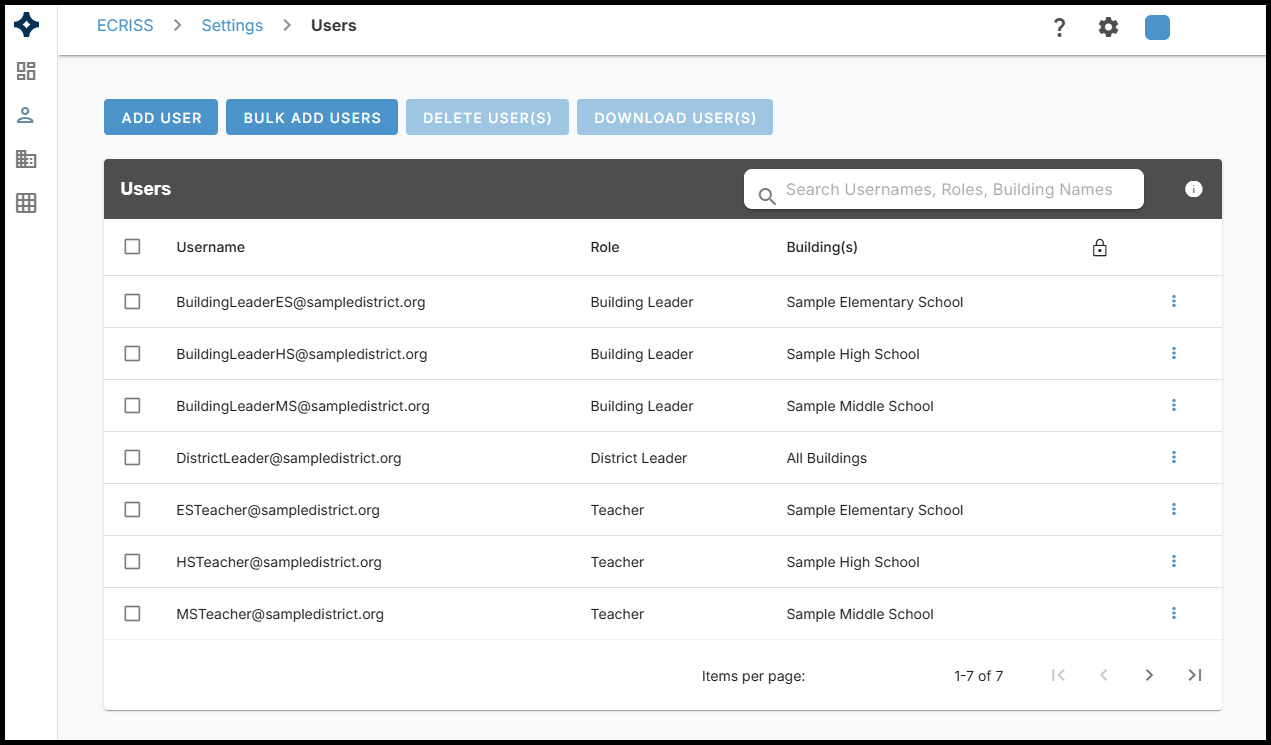
Step 2 – Accessing the Manage Users Page
– Click Users in the left sidebar menu.
– OR –
– Click the Settings button (gear icon) in the top right corner of the page, and select Manage Users from the dropdown menu.

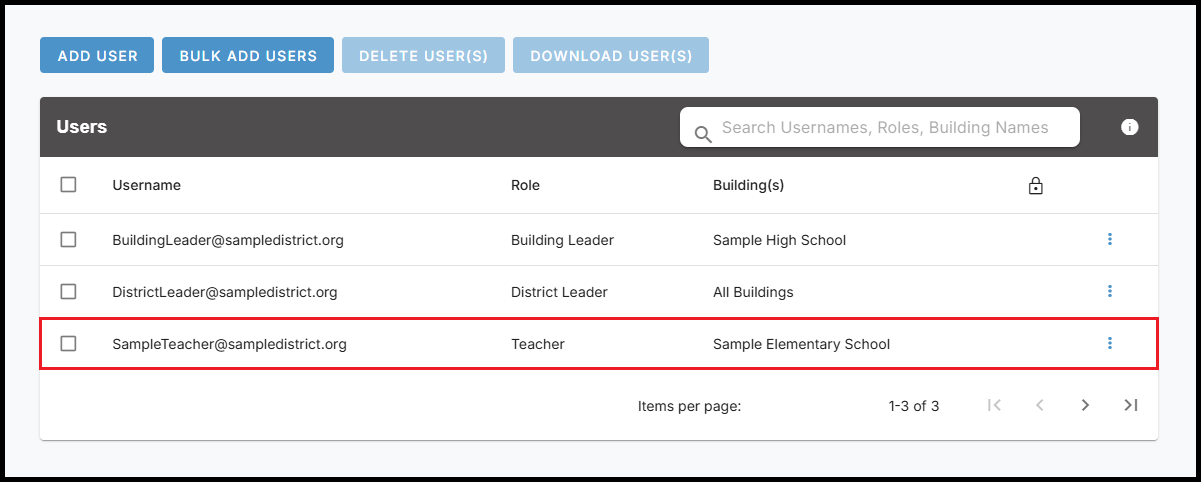
Step 3 – Finding Users
– On the Manage Users page, you can use the search bar to search by user email, role, or building.
– You can also manually scroll through the list of users. Note that if your district has more than 25 users, the arrow buttons in the bottom right corner allow you to see the next page of 25 users.
Have more questions about the Manage Users page?
How to Add New Users
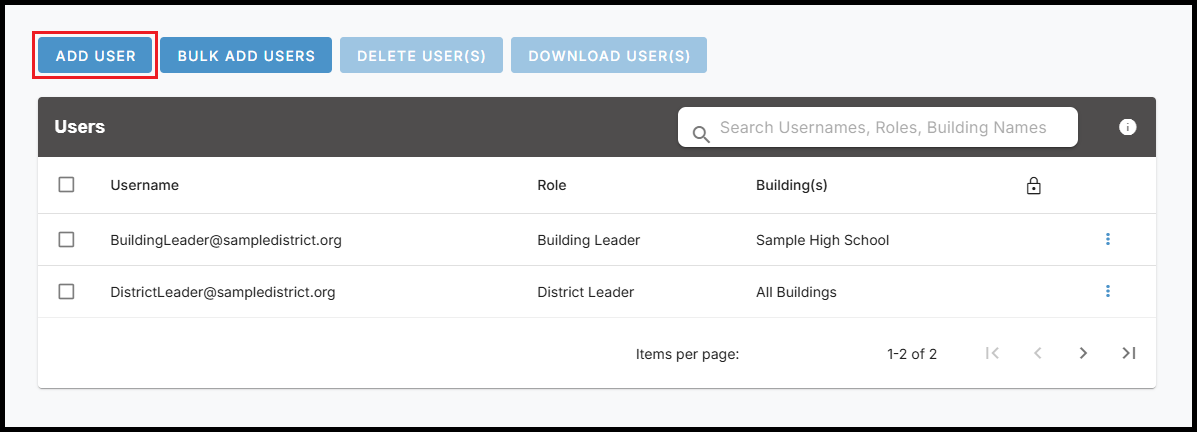
Step 1 – Opening the Add New User window
– On the Manage Users page, click the blue Add User button in the top left corner.
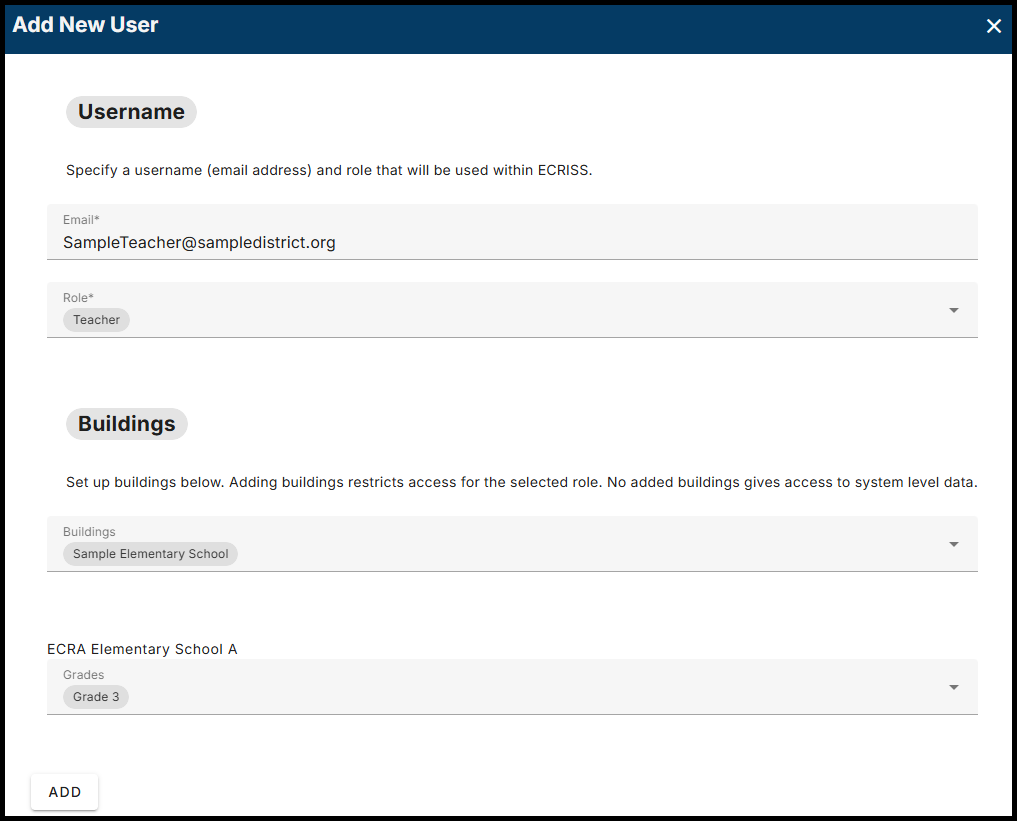
Step 2 – Adding a New User
– Enter an email address for the user. This is how the user will log in to the ECRISS platform.
– Select a role from the dropdown for the user’s account. Click HERE for a general overview of each user role and the permissions associated with each role.
– Select the building(s) that you would like the user to view. If no buildings are selected, the user will be able to view all buildings in the district.
– Select the grade(s) that you would like the user to view. If no grades are selected, the user will be able to view all grades for the selected buildings.
– In order to select grades, at least one building must be selected.
– If multiple buildings are selected, you will be able to set grades separately for each building.
– Click the ADD button in the bottom left corner to create the user.
– The new user will now appear on the Manage Users page.
Have more questions about adding new users?
How to Update Users’ Email, Role, Building Access, and/or Grade Access
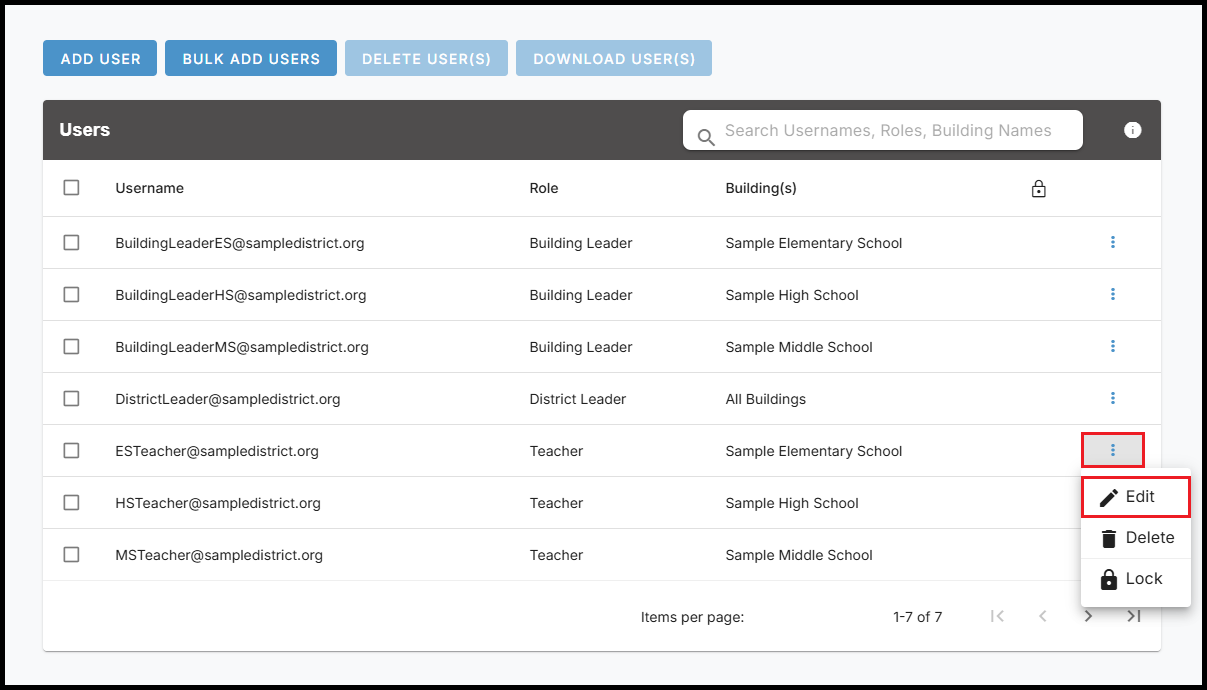
Step 1 – Opening the Edit User Window
– Find the user you wish to edit and click the ellipsis on the far right of the user’s row.
– Select Edit from the dropdown menu.
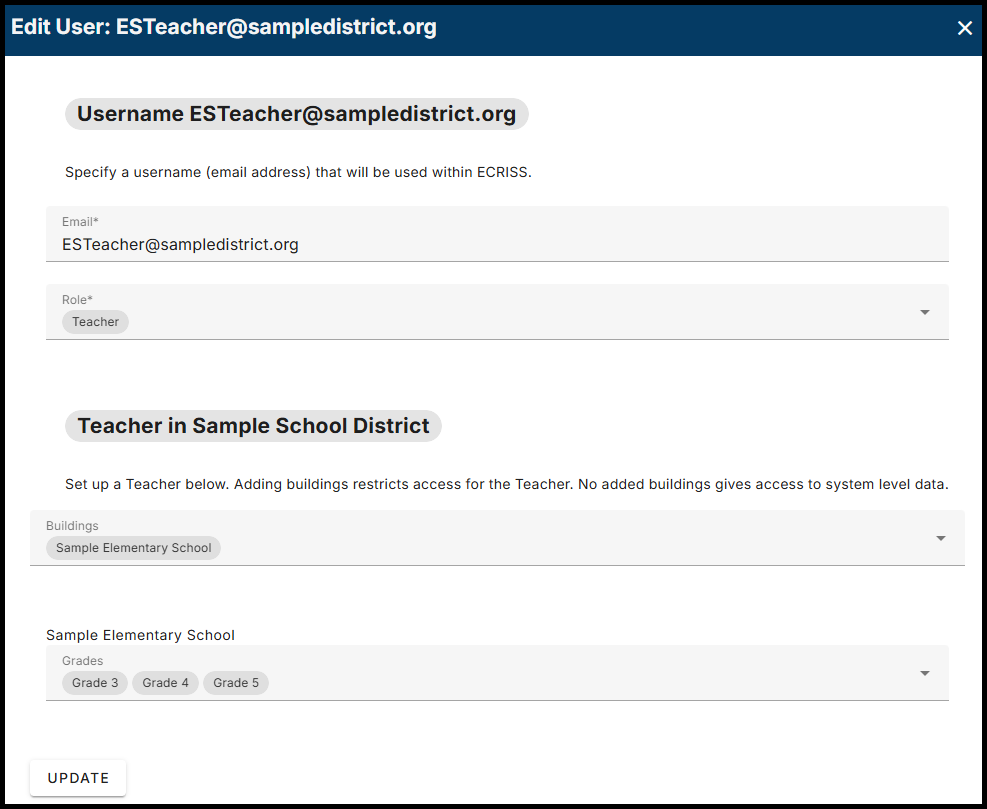
Step 2 – Editing a User
– Edit the user’s email address, role, building(s) and/or grade(s) as desired.
– Click the UPDATE button in the bottom left corner to save your changes.
Have more questions about updating users?
How to Delete Users
Deleting a Single User
– Find the user you wish to delete and click the ellipsis on the far right of the user’s row.
– Select Delete from the dropdown menu.

– Click DELETE in the confirmation window to permanently delete the user.

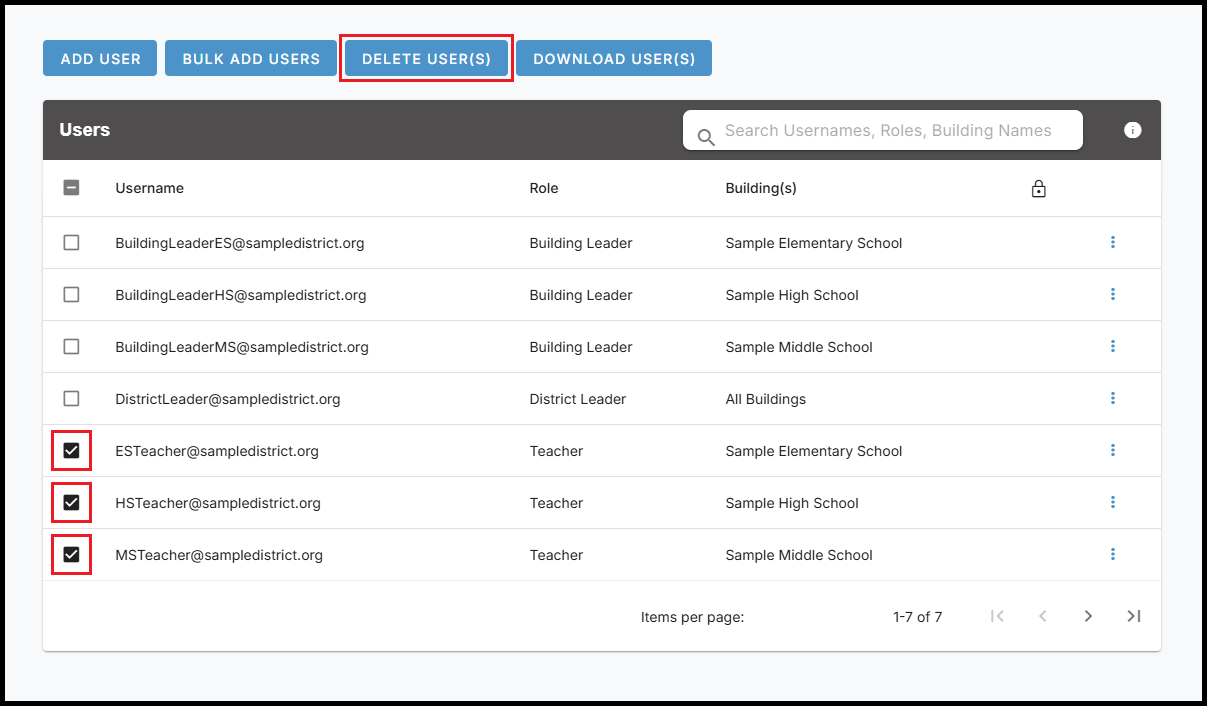
Deleting Multiple Users
– Click the checkbox on the far left of the row for each user you wish to delete.
– Click DELETE USER(S) at the top of the page.
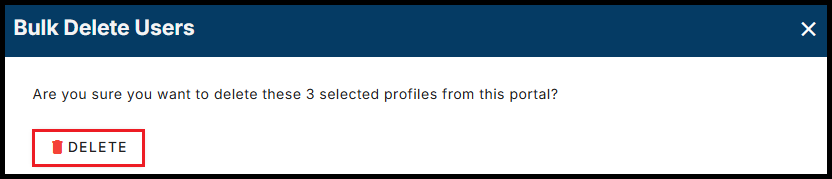
– Click DELETE in the confirmation window to permanently delete the selected users.
Have more questions about deleting users?
How to Lock / Unlock Users
User accounts can be locked so that a user cannot access the ECRISS platform. When a user’s account is locked, a padlock icon will display in the far right of the user’s row. The following provides step-by-step instructions how to lock and unlock a user’s account.
Locking a User
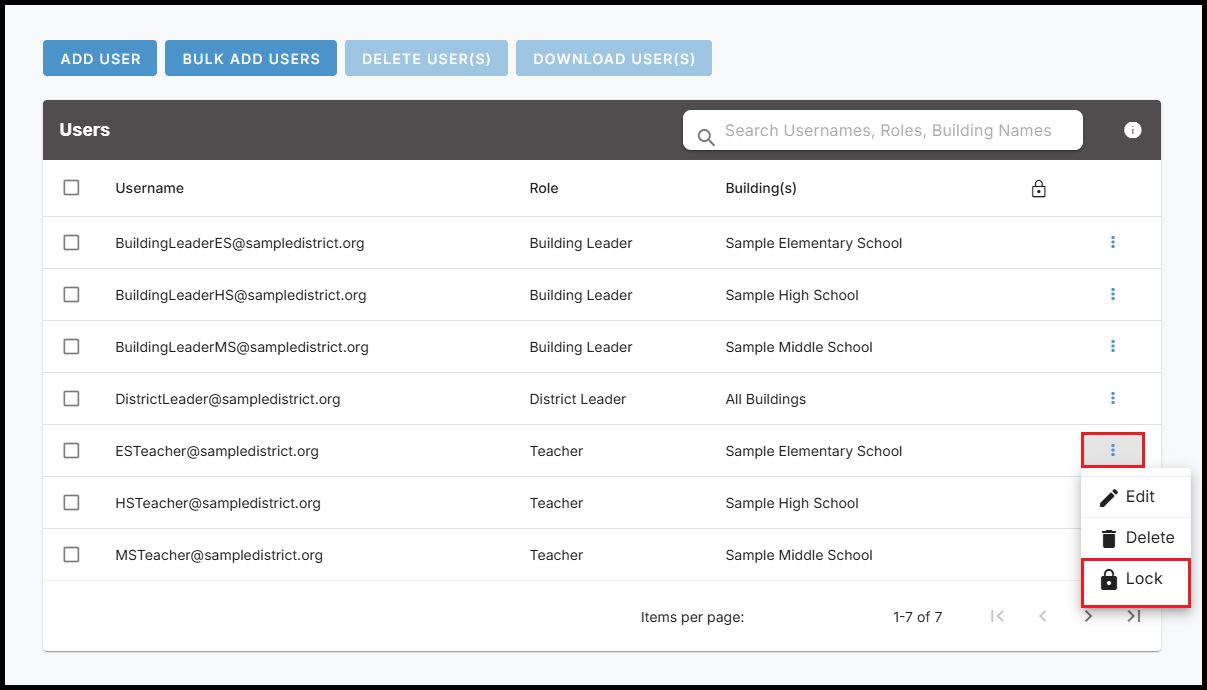
– Find the user you wish to lock and click the ellipses on the far right of the user’s row.
– Select Lock from the dropdown menu.
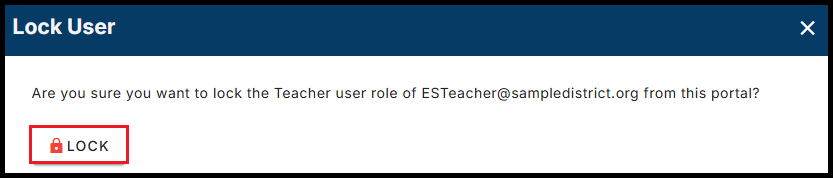
– Click LOCK in the confirmation window to lock the user’s account.
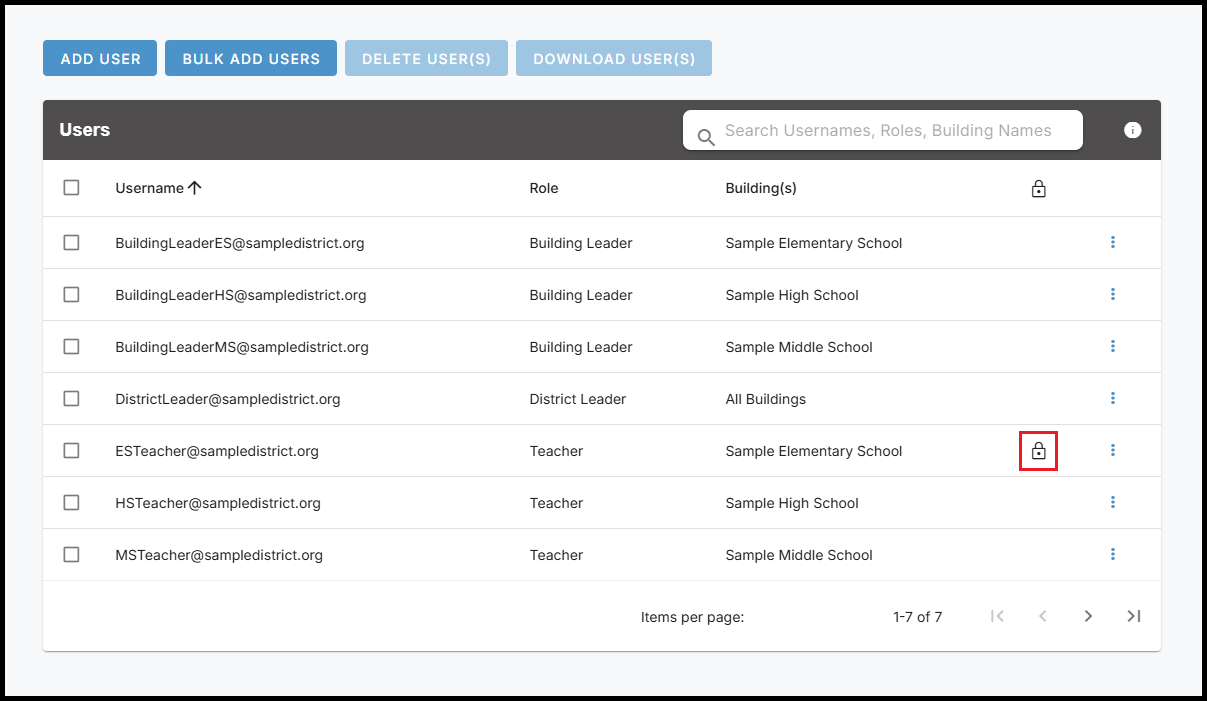
– A padlock icon will now appear on the right of the user’s row, indicating that the user’s account is now locked and the user cannot access the ECRISS platform.
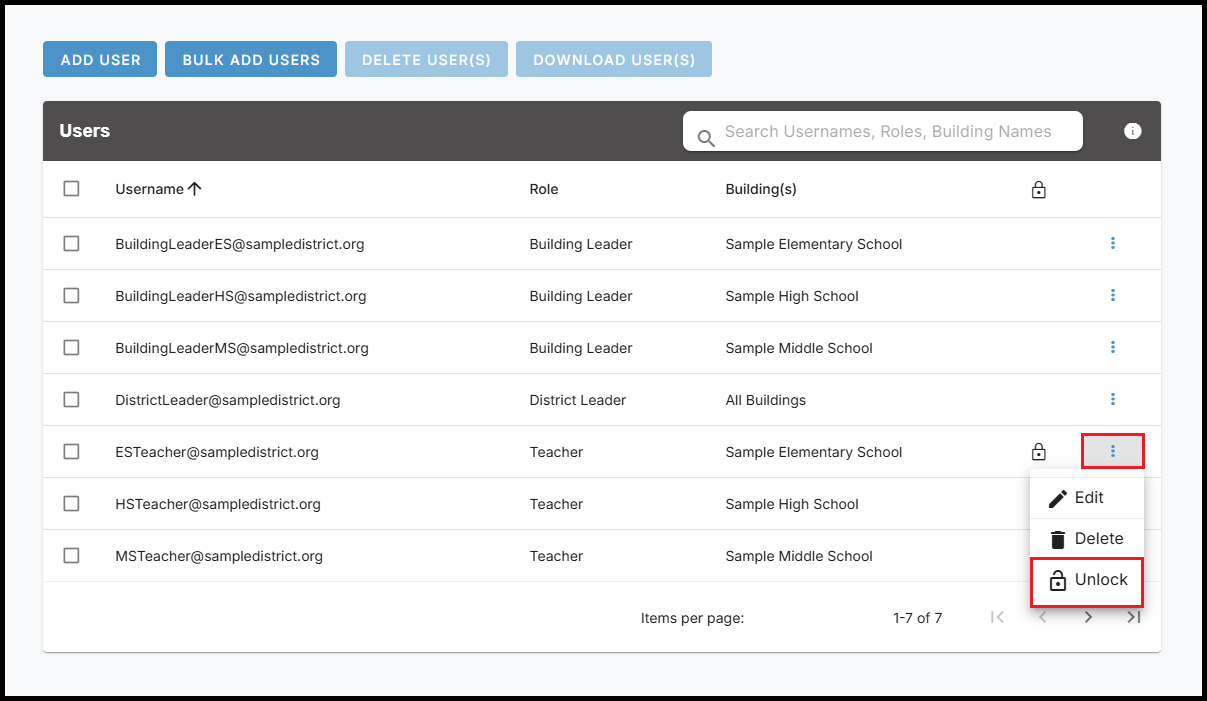
Unlocking a User
– Find the user you wish to unlock and click the ellipses on the far right of the user’s row.
– Select Unlock from the dropdown menu.
– Click UNLOCK in the confirmation window to unlock the user’s account.
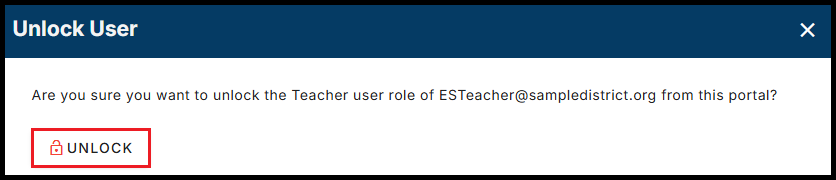
– The padlock icon will no longer appear on the user’s row, indicating that the user’s account is now unlocked and the user can access the ECRISS platform.
Have more questions about locking / unlocking users?
Have more questions?
Q: Why do some users have multiple rows on the Manage Users page?
A: Some users may have multiple rows. Each row shows a different role that the user has access to view. This may be helpful, for example, for a district leader who wants to view the ECRISS platform as a teacher to see what teachers have access to view.
Q: How can I assign multiple roles for a user?
A: If you wish to assign multiple roles for a user, you will need to follow the steps to add a new user. Enter the user’s same email address and assign the additional role you would like the user to have. Associated with the additional role, you can restrict the user to only see selected buildings and/or grades. When you are finished adding the user with the additional role, you will see the user now has more than one row on the Manage Users page.
Q: If a user has multiple roles/rows on the Manage Users page, do I have to delete or lock all of the roles/rows in order to completely restrict the user from having access to the ECRISS platform?
A: Yes, if a user has multiple roles/rows on the Manage Users page, and you wish to completely delete or lock the user so they no longer have access to the ECRISS platform, you will need to delete or lock each row on the Manage Users page associated with the user’s email. You can use the search bar at the top of the page to easily find all roles/rows associated with the user.
Issues managing users?
If you experience issues managing users, contact questions@ecragroup.com or submit a ticket for support.
